John’s sister is a huge chocolate lover and every year for her birthday she gets a triple chocolate cake from a local bakery. Every year she didn’t feel well after her birthday dinner. The problem? That bakery makes their cakes dairy free. Now making cakes dairy free is not a problem, I do it all the time! This bakery however, in making their cakes dairy free fills their cakes with soy! Well, she’s allergic to soy. Now we know what made her feel so awful year after year. Best part, by not knowing their ingredients: vegetable oil, vegetable shortening; the bakery was not aware they were filling their products with soy! Consider this a public service announcement for those who do not read ingredient lists: vegetable oil is soybean oil and vegetable shortening is soybean shortening. If you need a flavorless oil for baking go with canola, grape seed, or sunflower seed. If you need shortening go with palm. Simple 1:1 substitution that easily eliminates the soy from your recipe. Since she’s also been eating paleo I told her this year I would make her birthday cake, all she need was to tell me exactly what she wanted. She picked a chocolate cake, with nutella filling, and dark chocolate frosting. I went a little over the top and made her a three 9 inch layer cake. It was huge! If you aren’t feeding 15 people you don’t need to make the recipe this large.
-

-
Paleo triple chocolate birthday cake
-

-
Fully Decorated
-
-
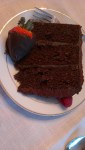
3 layer paleo triple chocolate birthday cake
-

-
A view from the inside
Ingredients:
Cake
Paleo Made Easy p. 125 Chocolate Cupcake recipe x 3 (one 9 inch layer = 1 cupcake batter recipe)
Nutella filling
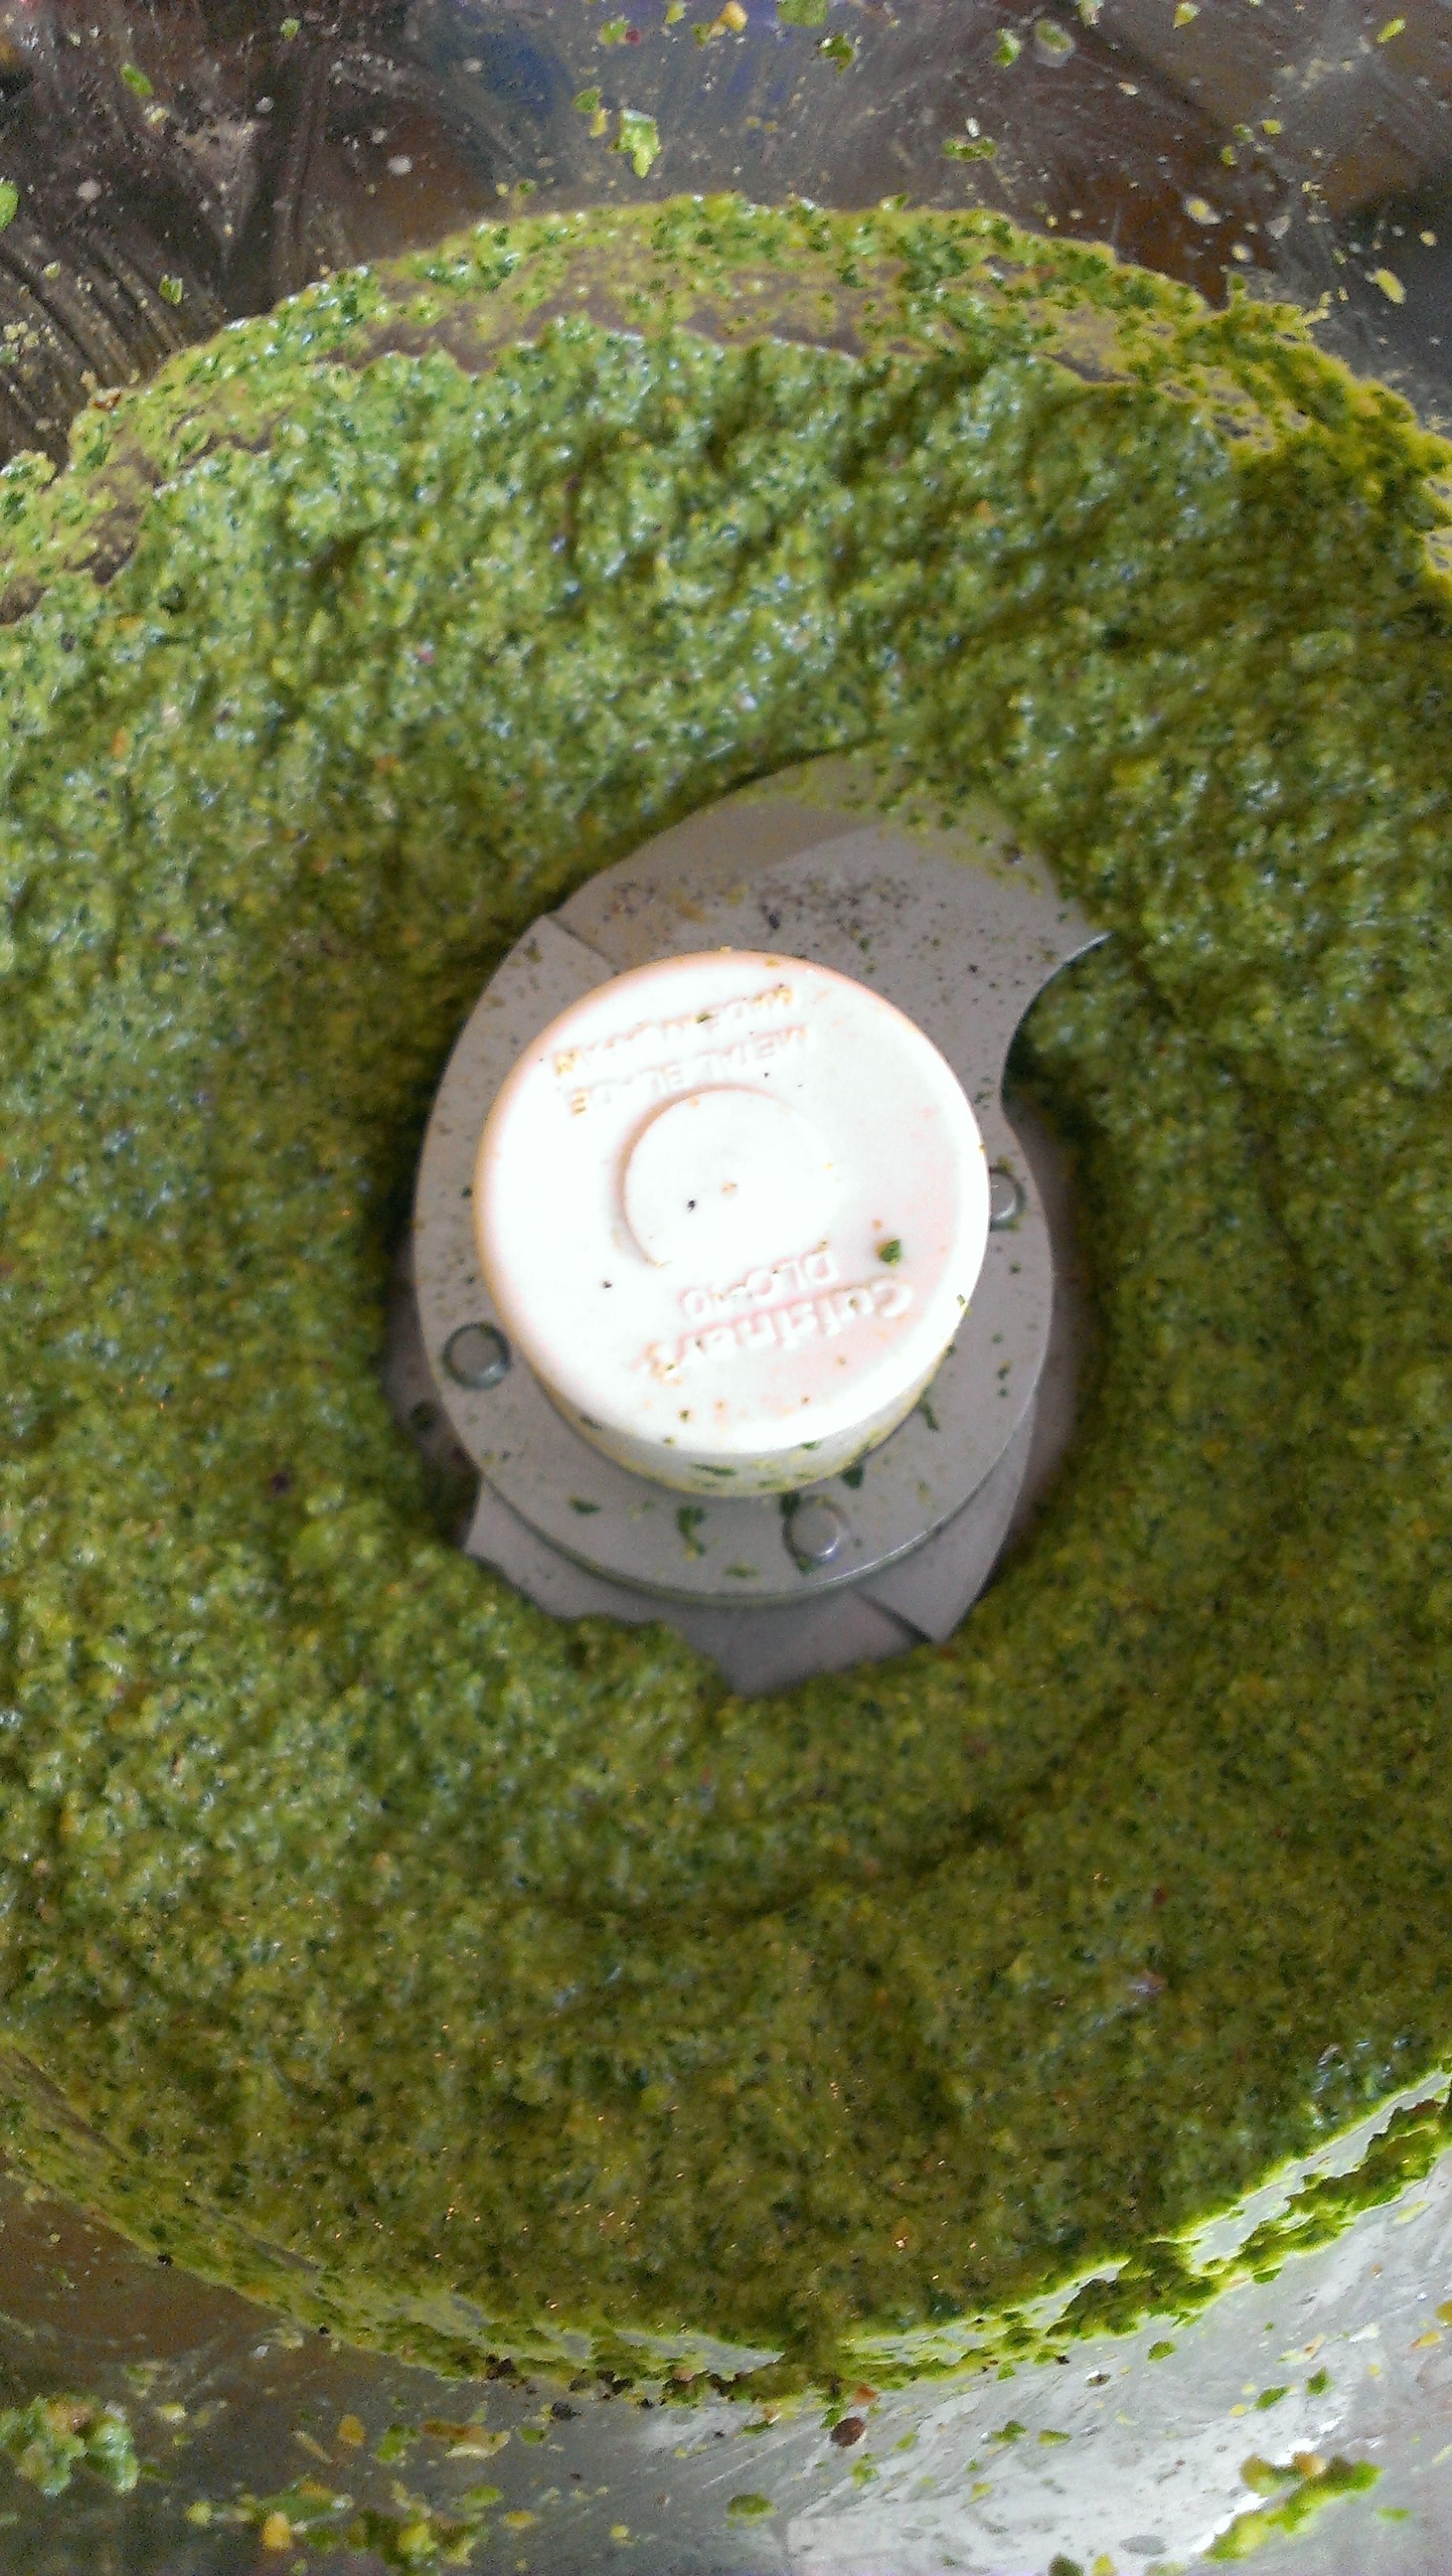
My paleo chocolate hazelnut spred recipe
I doubled the recipe to ensure I’d have plenty (and who doesn’t like extra leftover nutella?) and I ended up with about 2 cups left over.
Dark Chocolate Frosting
8 ounces (almost 1 cup) organic unsweetened applesauce
1 cup canned pumpkin
1 cup cocoa powder, sifted
1/2 cup organic blue agave
2 tsp. vanilla extract
Method:
For the cake preheat oven to 350°F. Grease cake pans with coconut oil spray and place a piece of parchment paper in the bottom of each. Prepare the cake batter as described in Paleo Made Easy and distribute it evenly between the cake pans. Bake at 350°F until a toothpick inserted in the center comes out clean, 30-50 minutes depending on cake pan size.
Prepare my nutella recipe as described in the link.
For the frosting, blend applesauce and pumpkin in your stand mixer with paddle attachment. Sift in cocoa powder. Continue blending. Add agave and vanilla and blend until smooth.
For assembly, make sure you cake layers are completely cool. Spread nutella on your first layer, carefully place your next layer of cake on top. Spread your second cake layer with nutella. Place your third cake layer on top. Spread the frosting over the entire cake. I chose to further decorate the cake so I found fresh raspberries to decorate the rim. Then I melted some Enjoy Life (dairy free, soy free, nut free) semisweet chocolate chips in a double boiler (about 2 ounces of chips plus ~1/8 tsp. canola oil). I dipped strawberries in the melted chocolate and let them cool/solidify on wax paper. Topped the center of the cake the chocolate the dipped strawberries. Then I tried my first chocolate decoration: drizzled the melted chocolate in a abstract pattern on wax paper, let it cool in the fridge, then gently peeled it off the paper and added it to the center of the cake.
This makes for a gorgeous, and paleo, birthday (or other occasion) cake that is definitely for chocolate lovers! Did I mention it is a chocolate chocolate chip cake? Chocolate lovers dream 🙂
Tags: Paleo three layer triple chocolate birthday cake